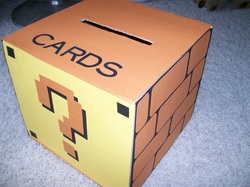
Card Box
Supplies:
-12x12 cardboard box (from Walmart)
-clear packaging tape
-5 pieces tangelo (dark orange) card stock (from Michaels)
-3 pieces black card stock (from Michaels)
-2 pieces Mexican poppy (yellow) card stock (from Michaels)
-scissors
-knife
-rubber cement
-Martha Stewart letter stickers (from Michaels)
-question mark template/stencil (got from a Google image search)
*First put the box together and taped the bottom closed using the packaging tape. Next using the knife cut a small slit in the top of the box. Once this is cut glue the top flaps together. Then use the rubber cement to glue 2 pieces of the black card stock on opposite sides (left and right) and Mexican poppy on the front and back. The tangelo is glued on the top and bottom. Cut off any excess using the scissors. Then re-cut the slit in the top for the cards to pass through.
*Using another sheet of tangelo cut off about 2 inches from the bottom. Then cut 4 even rows. These will be the bricks for the sides. Cut to the width you desire using different sizes (all the same height). You can also round the corners before gluing them on the black sides in four rows. Repeat on the opposite side.
*Cut out a stencil for the question mark design. Trace it onto the black and tangelo card stock. You should be able to fit 2 question marks in one sheet of card stock. Overlap and glue the tangelo over the black so that it looks like a shadow. Glue this onto the Mexican poppy side. Cut out small squares for the corners. Repeat on the other side.
*Place stickers on the top of the box.
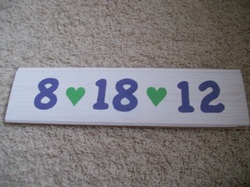
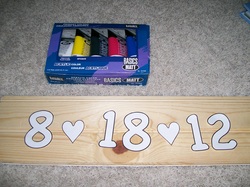
Wedding Date Sign for Engagement Photos
Supplies:
-scrap wood cut to your preferred size (from Home Depot)
-paint (from Michaels)
-stencils (numbers and hearts) I used MS Word, found a font and size I liked, and changed it to an outline so that I could easily cut it out.
-pencil
-paint brushes
-dish for mixing paint colors
*First paint the wooden board your chosen background color (white is shown). Let it dry for a few hours depending on how thick you painted it. Once its dry place your stencils on the board and trace the outline with a pencil.
*Mix your paint until you get your desired colors. For the purple I used red, blue, and white. For the green I used blue, yellow, and white. Then paint each number or symbol. Let it dry for a couple more hours.
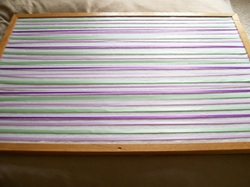
Ribbon Board for Escort Cards
Supplies:
-cork/bulletin board with a border
-white felt cut to size (from Michaels)
-various ribbon (from Michaels)
-butter knife
*First lay the white felt over top of the bulletin board. Leave 1/4 to 1/2 an inch all around. Using the blade end of the knife force the felt underneath the rim/edge of the border. Keep pushing the felt in all around and cut off any excess as you go around. I did two opposing sides first in order to keep it tight.
*Cut the ribbon so that there is about 1/2 inch excess on both sides. Again force the ends of the ribbon under the border using the blade of the knife.
*I also plan to staple/tack the ribbon into the board once I have an idea of how many guests we will have and figure out the spacing of the cards.
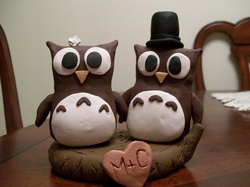
Cake Topper
Supplies:
-polymer clay (in a variety of colors)
-vegetable oil (only needed to soften the clay)
-clay tools (I purchased a cheap set from Michaels) See Below
-smooth, flat surface (I used plastic place mats that could be pressed together to flatten the clay)
*First soften the clay with your hands (if needed add a few drops of vegetable oil). I started with the base and rolled it into a large ball. Then I flattened it between a couple plastic place mats. I left out a small piece so that I could add a branch later. Then add details such as a swirl on the top and lines on the sides. Form the small branch and attach it to the base. Then I added the heart. I cut it out with one of the tools and formed our initials on it.
*For the owls I formed the brown body by playing with it until I liked the shape. Then I pinched the sides on top to form what look like ears. I cut out white circles of the same size for the eyes and a larger circle for the belly. Then I cut out smaller black ovals for the eyes. The had was also made out of the black by rolling it on the place mat and cutting off the bottom when it was a good height and width. The rim is just a thin circle. I also rolled a very thin black band for the had to cover the seam between the top and brim. The brown wings were just formed by hand until they were a good side and shape. The brown details on the belly were very thinly rolled and sliced about at the width of my pinky fingernail. Last the beak was cut in a triangle from some yellowish clay.
*Next I added a couple toothpicks inside the bottom of each owl leaving about half an inch to stick it in the base. Another toothpick was used to attach the hat to the owl as well. I double checked to make sure everything was pressed on well before baking it.
*Finally I baked the whole thing in the oven at 275 degrees F for about 3 hours.
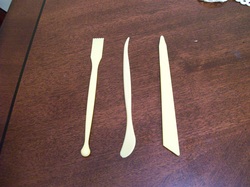
Clay tools
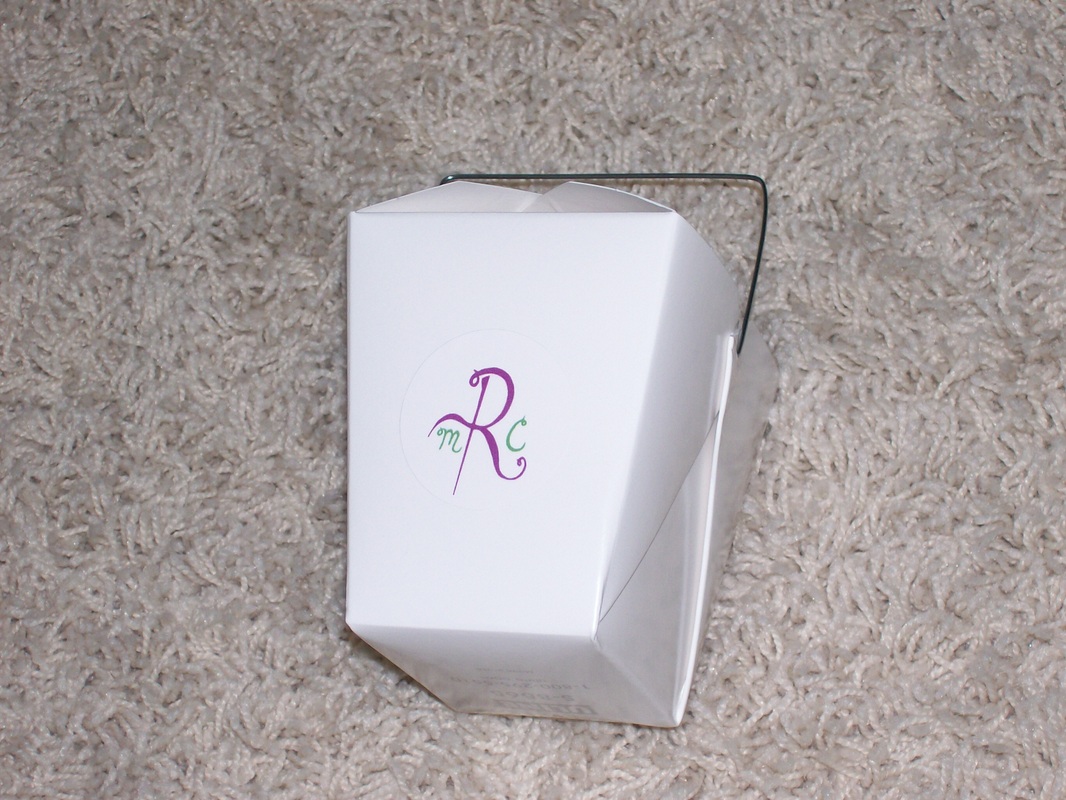
Monogram

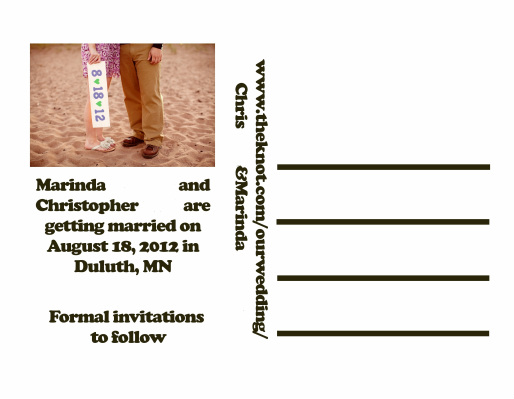
Save the Dates

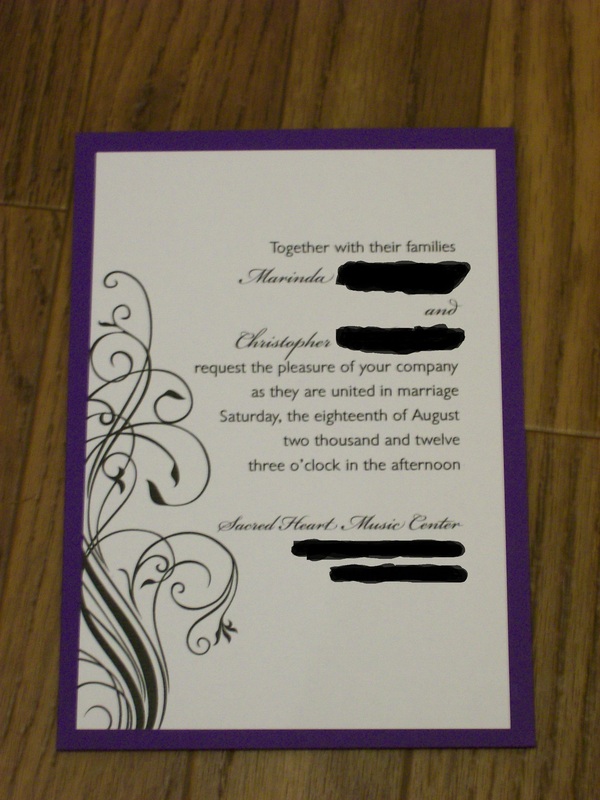
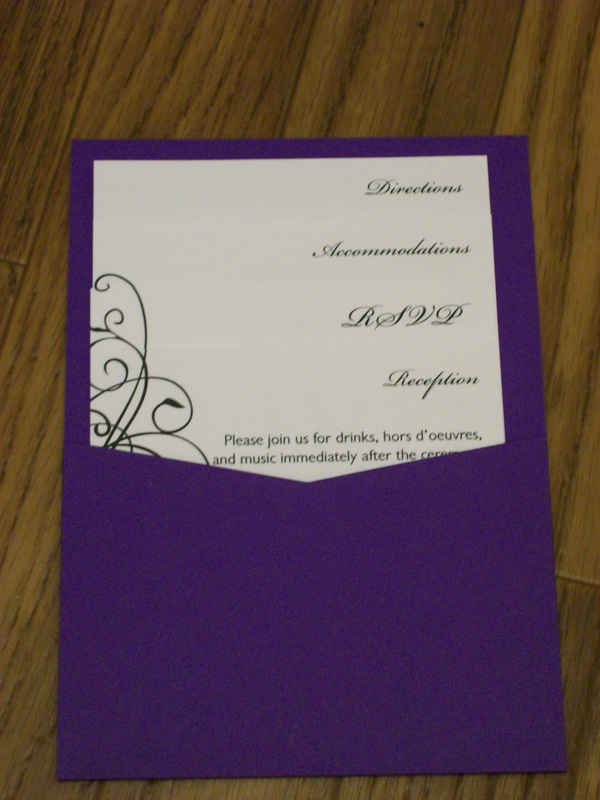
Invitations
|
|
We ordered purple panel pockets from www.cardsandpockets.com along with envelopes. Then we had a local print shop design and print the invitations and inserts. The invitations were glued to the front using Elmer's extreme glue sticks.
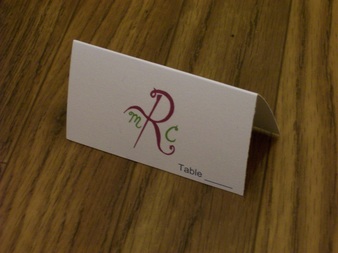
Escort Cards
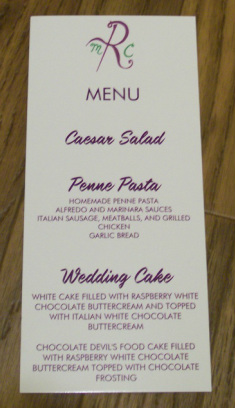
Menus
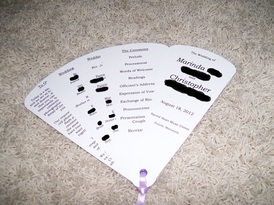
Ceremony Programs
Supplies:
-110lb card stock
-scissors
-paper cutter
-Crop-a-dile (from Michaels)
-eyelets (from http://www.eyeletoutlet.com/)
-ribbon (from Michaels)
*We downloaded the fan template at http://www.ayleebits.com/2006/06/10/diy-fan-programs/ and added in our own information to 5 blades. We purchased 110lb card stock from a local printing company and had them print the fans we created onto the cardstock.
*Each fan was cut out individually. We used a paper cutter for the straight edges and cut out the top and bottom by hand because they were rounded. Using the Crop-a-dile we punched holes near the bottom by lining up a set of 5 blades and punching into them all at once. Then we used the same tool to squeeze the eyelets into place. Last we tied a ribbon to the bottom.
|
|
Future Projects
Candy Buffet Inspiration
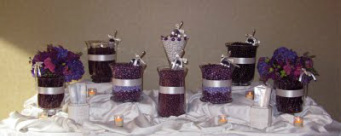
Centerpiece Inspiration
|
|
